
For years a designer had two choices for cropping images for use in Adobe Illustrator. First the images could be cropped using Photoshop first, then placed in Illustrator. Second, the designer could use clipping masks in Illustrator to “crop out” the unwanted areas. Those days are now past! Adobe has finally added native image cropping to Adobe Illustrator CC.
Native cropping is an advantage for many reasons: first, it allows the designer to actually discard unwanted parts of an image. This can help to reduce file size and increase performance in Illustrator as one works on his or her layouts. Here’s how it works:
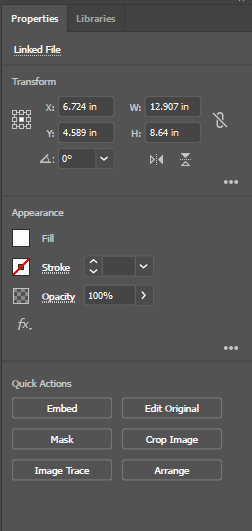
First you will need to place an image. You can either go to File->Place or use the keyboard shortcut Shift+Control+P. After the image is placed, make sure it is still selected. If the Properties pane is not open, go to Window->Properties to open it.
In the Quick Actions section of the Properties panel, click on the Crop Image button to begin cropping.
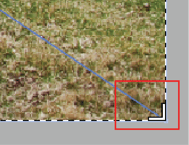
Grab one of the crop handles, either on one of the edges or corners, to drag the crop area in on the image.
Once you have set the crop area to the desired size, click the apply button in the Properties panel.
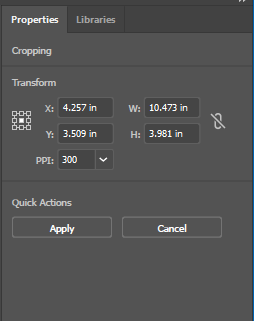
That’s It! Your image has been cropped to size.
Meet Adobe Certified Instructor Ron Marsh
New Horizons Learning Group offers Adobe Certified instruction from instructors like Ron Marsh and more. Learn more tricks and shortcuts with training.
